
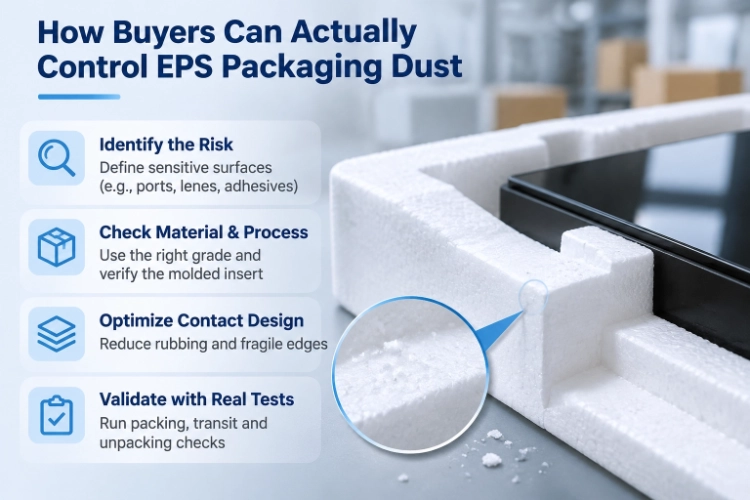
Dealing with EPS packaging dust means you have to look closely at your actual factory floor. You need to check the exact spots where workers cut, rub, break, or remove the foam. Just saying the foam “looks clean” won’t cut it. That kind of vague statement doesn’t keep a delicate surface safe. It also won’t protect exposed connector ports on electronics. So, first, figure out your exact contamination risk. After that, look at the finished, molded foam insert. Finally, run a real-world test that covers both the packing and unpacking stages.
Let’s say you’re shipping a flat-screen display. The fragile glass survives the trip just fine. No cracks at all. But when the customer opens the box, they find tiny white specks stuck near a crucial connector port. The packaging did its job protecting the screen, but it totally failed on keeping things clean. Your next move? Dig into the timeline. You have to figure out when those particles showed up. Did the primary insert cause them? Was it another part of the packaging? Or did the handling process itself scrape the foam? If you just swap out the material without checking these things first, you’re making a huge mistake. The real source of the problem will still be there.
Where Does EPS Packaging Dust Become a Problem?
Start by mapping out the most fragile parts of your product. Tiny cooling vents, optical lenses, sticky adhesive areas, and high-gloss finishes all act differently. Because of this, they need totally different visual checks. The product owner has to name the specific hazard. Don’t just slap a single, vague cleanliness rule across the whole item.
Separate loose debris from actual product damage Keep a close eye on any particles you find. Write down exactly where they are, what they look like, and when you noticed them. Grab a camera and take clear photos before anyone wipes the surface down. Next, grab a brand-new, unused insert. Put it right next to one that just went through a transit trial. This side-by-side comparison is super helpful. It lets your team figure out if the dust was already sitting there, or if friction created fresh pieces.
Issues with foam particle shedding often tie back to a damaged edge, repeated rubbing, or pieces snapping off when someone unboxes it. Treat these ideas like theories you need to test. Don’t jump to conclusions just from looking at one photo. Make sure to check plastic bags, cardboard boxes, and other inner parts too. They might be the real source of the mess.
When it comes to sensitive product packaging, you need to spell out your main worry. Are you just worried about visible dirt? Do you need a strict particle count using a lab method? Or are you trying to stop a functional mechanical failure? These are completely different standards. Don’t try to turn a basic visual pass into a strict cleanroom claim.
Only start looking into HUASHENG’s standard EPS and custom REPS materials after you know the affected surface and how it gets handled. A good supplier request explains exactly which zone needs to stay spotless and when you plan to inspect it.
How Can Material Choices Affect EPS Packaging Dust?
You have to weigh the raw material grade, the shape of the cavity, and the surface texture all at once. Sure, seeing a smooth foam sample is a good sign. But honestly, it doesn’t prove much on its own. It won’t promise a low particle count after heavy friction or bending. Always test the final part exactly as it arrives at your packing line.
Take the B quick grade from HUASHENG. They built it for electrical equipment, panels, and precision gear. It runs easily on standard setups or automatic vacuum molding lines. The supplier points out its fast molding, solid strength, and slick finish. These are great points for a molded-insert chat. Even so, meeting your specific cleanliness standard means you still need a custom check.
Looking at the specs, 301 shows a particle size of 1.0–1.8 mm. Its single-time expandable ratio sits between 50–70. The 302 version goes to 0.8–1.3 mm and 45–65. The 303 drops to 0.6–1.0 mm and 40–60. Finally, 401 gives you 0.3–0.8 mm and 30–50. Keep the specific number tied to your physical sample. Never blindly swap in an unnamed grade during your trial.
HUASHENG’s REPS materials let you tweak performance, particle size, and color for your specific project. Normally, the particle size sits around 0.8–1.2 mm. A typical tray project might use 0.65–0.8 mm. People use this stuff for LCD panels, phones, tablets, and other electronics. These examples really help when discussing sensitive product packaging. But remember, they don’t give you a universal particle-release rule.
Talk about a custom REPS insert if the contact area or shape needs a second look. Ask if a risky edge can be molded differently, covered up, or moved. Then, test the updated sample. Don’t just assume picking a certain manufacturing method magically makes everything perfectly clean.
HUASHENG also makes P ultra-light material. This is for electrical and ceramic lamp packaging using automatic vacuum forming machines. It offers surface smoothness, toughness, storage stability, and multiple pre-foaming options. The P 303 spec lists 0.6–1.0 mm particles with an expandable ratio of 60–80.
How Can Contact Geometry Reduce Foam Particle Shedding?
Watch closely where the product rubs against the foam when someone puts it in or takes it out. A protective insert might fit great once it’s fully seated. But the real damage often happens during the slide down into the box. That path is a huge part of your design.
Keep vulnerable edges out of repeated contact Check out any narrow ribs, thin tabs, sharp corners, and cut edges near sensitive spots. A big support block might hold up fine, but a tiny piece next to it could snap right off. Circle that trouble spot on your drawing. Tell the supplier exactly which product surface needs shielding from loose debris.
If you’re thinking about adding a plastic bag or protective sheet, look at the whole setup. It shouldn’t let the product shift around too much. It shouldn’t mess up how the item sits, and it shouldn’t introduce a harsh material. A barrier is just a guess until you actually test it. It’s never a magic fix.
Think about a tray with a tight release slot. Making the finger grip wider might let users pull the item out without breaking the foam rib next to it. But doing that means you have less foam. So, you have to test the modified package again for drop protection. You can’t fix foam particle shedding by ignoring the insert’s main job of protecting the item.
Go over the unpacking manual with someone who has never seen the product before. If they naturally yank it in a way that rips the insert, your planned removal path just isn’t working. Test what people actually do instead of hoping they’ll follow a perfect, unwritten rule.
Keep HUASHENG‘s REPS application info handy while you draw up a contact map. Bring that map and the removal steps to your sample meeting.
What Should an EPS Packaging Cleanliness Trial Include?
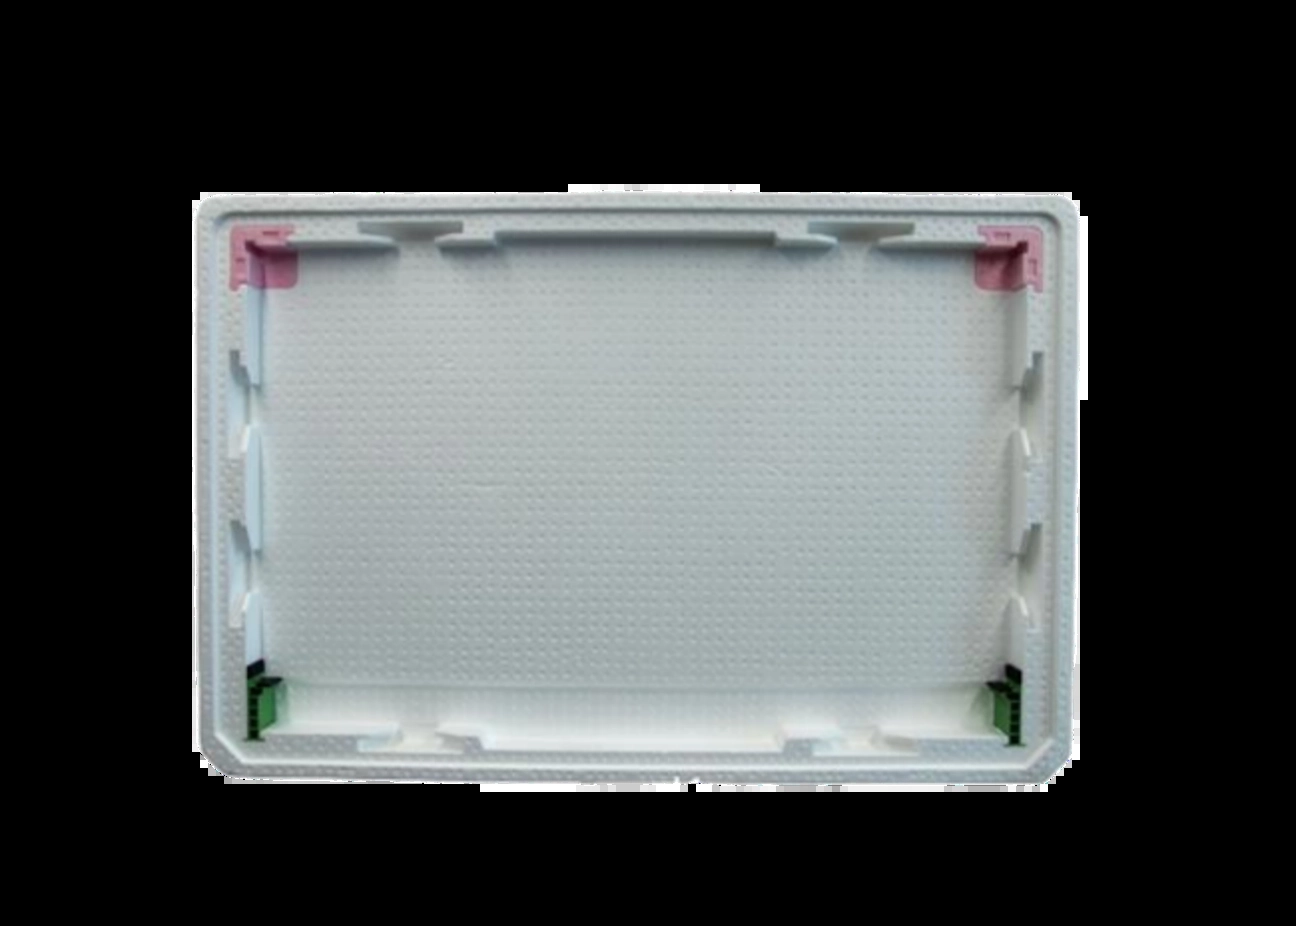
Always use the real product for this. If you can’t, get a dummy unit with the exact same finishes and ports. Figure out your prep steps, lighting conditions, and pass/fail rules before you start. If you need hard numbers, have the quality team pick a good counting method and a sampling plan.
- Look over the delivered insert and the box before you load anything.
- Watch the regular packing process on the line. Make sure nobody wipes away evidence.
- Run your agreed-upon drop or vibration test.
- Have someone unpack it exactly like a customer would.
- Check the sensitive spots you picked out during each of these steps.
You need to judge EPS packaging cleanliness under the same lights and handling steps every time. Write down who did the visual check. Note if anyone wiped the surfaces between steps. If someone secretly cleans the product and doesn’t write it down, your final results will be totally useless.
HUASHENG‘s custom services handle application analysis, design, sample making, full manufacturing, and shipping. They start by looking at how the customer actually uses the item. This creates a solid plan that includes surface sensitivity and contact points right in the design brief before they even mold the first piece.
Ask for a few extra samples if the risk changes based on daily factory variations. One hand-picked “perfect” sample won’t show you what happens during a rushed packing shift. Stick the agreed EPS packaging cleanliness rule right onto the part revision document. That way, if the purchasing team makes changes later, they don’t accidentally lose the approved setup.
Stay away from big marketing words like “dust-free,” “sterile,” or “cleanroom-ready” unless you can prove it. A test result only backs up the exact setup you tested. It doesn’t give you a blanket pass for every sensitive gadget out there.
Don’t forget to look at your warehouse storage too. Everyday facility dust falling into empty boxes before packing can easily look like foam particles during a transit test.
Conclusion
To get a handle on EPS packaging dust, you need to track down where it starts. Cut down on harsh rubbing, and test the entire handling process from start to finish. Picking the right material, shaping the mold correctly, using barriers, and planning how the user unpacks the box all play a big role. But you need solid proof that each step works for your specific item. Write down your cleanliness goals clearly and keep them right next to your drop-test requirements. Reach out to HUASHENG with your specific needs to get a focused sample evaluation going.
FAQs
Q1: Does a perfectly smooth insert mean I won’t have EPS packaging dust?
A1: Not at all. You have to check and test the finished insert while packing, dropping, and unpacking. A nice, smooth look before you use it doesn’t tell you anything about particle release later on.
Q2: Is the raw material grade always to blame for foam particle shedding?
A2: No. Look at broken pieces, heavy friction, rough cutting, and sloppy packing habits first. Make sure to check other packaging materials too before you blame the foam chemistry.
Q3: How do you define EPS packaging cleanliness for a sensitive product?
A3: It boils down to your product’s specific risks paired with an agreed-upon testing or measuring method. Don’t swap out a hard, testable rule for a vague claim that sounds nice but means nothing.
 English
 German
 Spanish
 French
 Arabic