
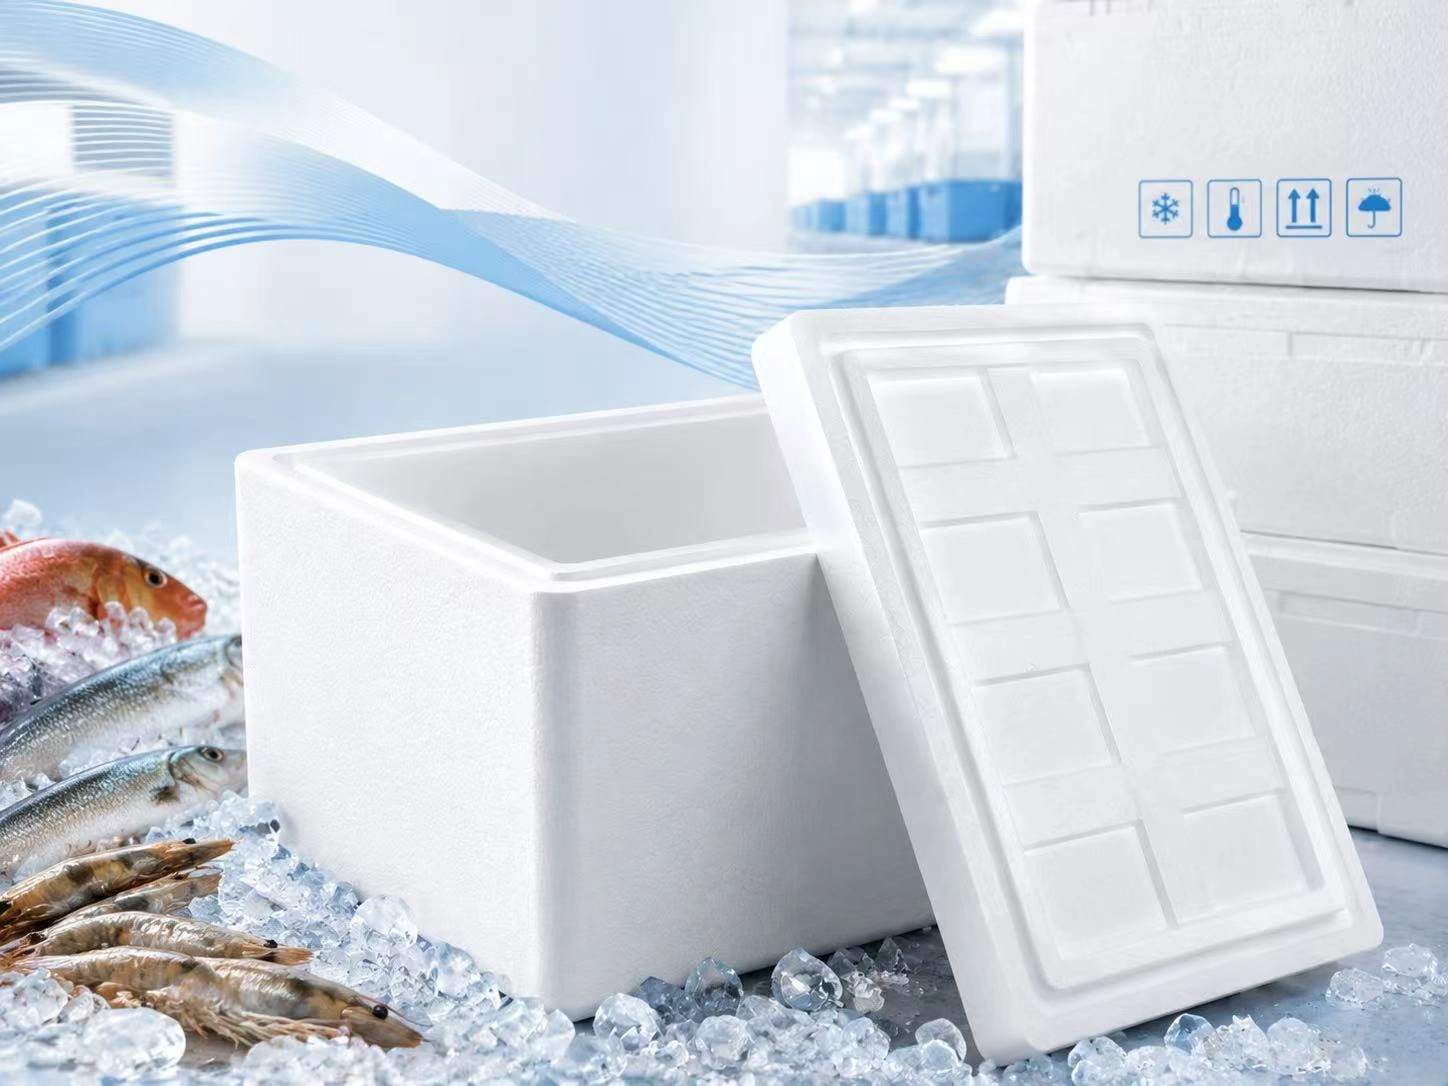
A protective foam insert might look completely fine after a standard vertical pull test. However, it could still split apart easily. This often happens starting from a tiny notch when someone removes the packaged part. Why does this occur? It happens because a standard tensile test loads a physical specimen quite differently than a tearing force does. Knowing the EPS tear strength becomes incredibly useful in real-world scenarios. For example, a tiny crack might initiate at a rough cut. It could start near a thin rib or a very sharp corner. A damaged edge is another common starting point. From there, the crack travels deeply through the material as workers continue handling the box.
Put yourself in a buyer’s shoes. The main practical question is never just whether foam can tear in a theoretical sense. Instead, you need to know if a likely physical defect will grow. Will normal contact turn a small nick into a massive split? If it does, the packaging might accidentally release the fragile product. A split might alter the snug fit. It could even shed annoying foam debris directly into the package. Finding the right answer depends on several variables. You must consider the exact test method used. Wall geometry plays a huge role. Handling direction matters heavily, and so does the specific way the finished part receives structural support.
What Does EPS Tear Strength Tell You?
A proper tear test measures a material’s inherent resistance to an actively growing crack. It tracks how that crack progresses straight through a specially prepared specimen. This happens under a strictly defined mechanical loading arrangement. This kind of evaluation is particularly relevant in certain situations. Specifically, it matters heavily when a notch or a small starter cut already exists. The final, exact numerical result depends heavily on the physical specimen shape. It also depends on the specific test procedure used in the lab. Therefore, just tossing out a measurement unit or a generic standard name is not sufficient. If you lack the intricate method details, you simply do not have enough solid data for a fair supplier comparison.
How is a tear different from a tensile pull?
Let us examine the mechanics. A standard tensile test literally pulls a test specimen apart using pure tension. The lab then reports precisely how the material responds under that specific, uniform pulling force. On the flip side, a tear test has a totally different focus. It zeroes in on crack propagation. It monitors how a failure spreads outward from an already existing notch. It can also track a pre-existing tear front. Sure, knowing the EPS tensile strength can definitely help engineers characterize the baseline material properties. However, it does not automatically give a designer all the answers. It will never tell them exactly how an existing, accidental cut will travel erratically through a thin tray wall.
How is a tear different from puncture?
Puncture testing works by evaluating a blunt probe or a sharp point. It measures the force required for that point to physically enter and break through a specimen under a chosen, standardized method. Tear resistance deals with an entirely different problem. It is all about a physical split extending further. This happens after an edge has already begun to painfully separate. Here is a common scenario. A foam package might stubbornly resist initial penetration from outside forces. Yet, it might still suffer from a terribly weak, thin wall once it gets nicked by a tool. Conversely, a fantastic tear specimen result does not guarantee overall safety. It absolutely does not say whether a sharp metal connector will easily puncture a load-bearing support. Because of these distinct mechanical differences, EPS puncture resistance and tear-focused tests demand separate evaluations. They should therefore stay as entirely separate engineering checks whenever both physical risks exist in your supply chain.
What Do HUASHENG’s REPS EPS Tear Strength Results Show?
The manufacturer HUASHENG clearly identifies its specific REPS tear-strength test methodology. They cite the rigorous ASTM D624-00 (2020) standard. Furthermore, the company reports the measurement unit explicitly in kN/m. Looking at their published data table, you will see a value of 1.7 at a foaming rate of 20. The number drops to 1.3 at a rate of 25. It goes down to 1.1 at a 30 rate, and finally hits 0.7 at a foaming rate of 40. You must interpret these numbers correctly. These values belong strictly to the table’s specifically stated sample series. They are definitely not a universal acceptance limit. You cannot blindly apply them to every custom tray design. They do not cover every possible wall thickness, nor do they act as a blanket guarantee for every single production lot rolling off the line.
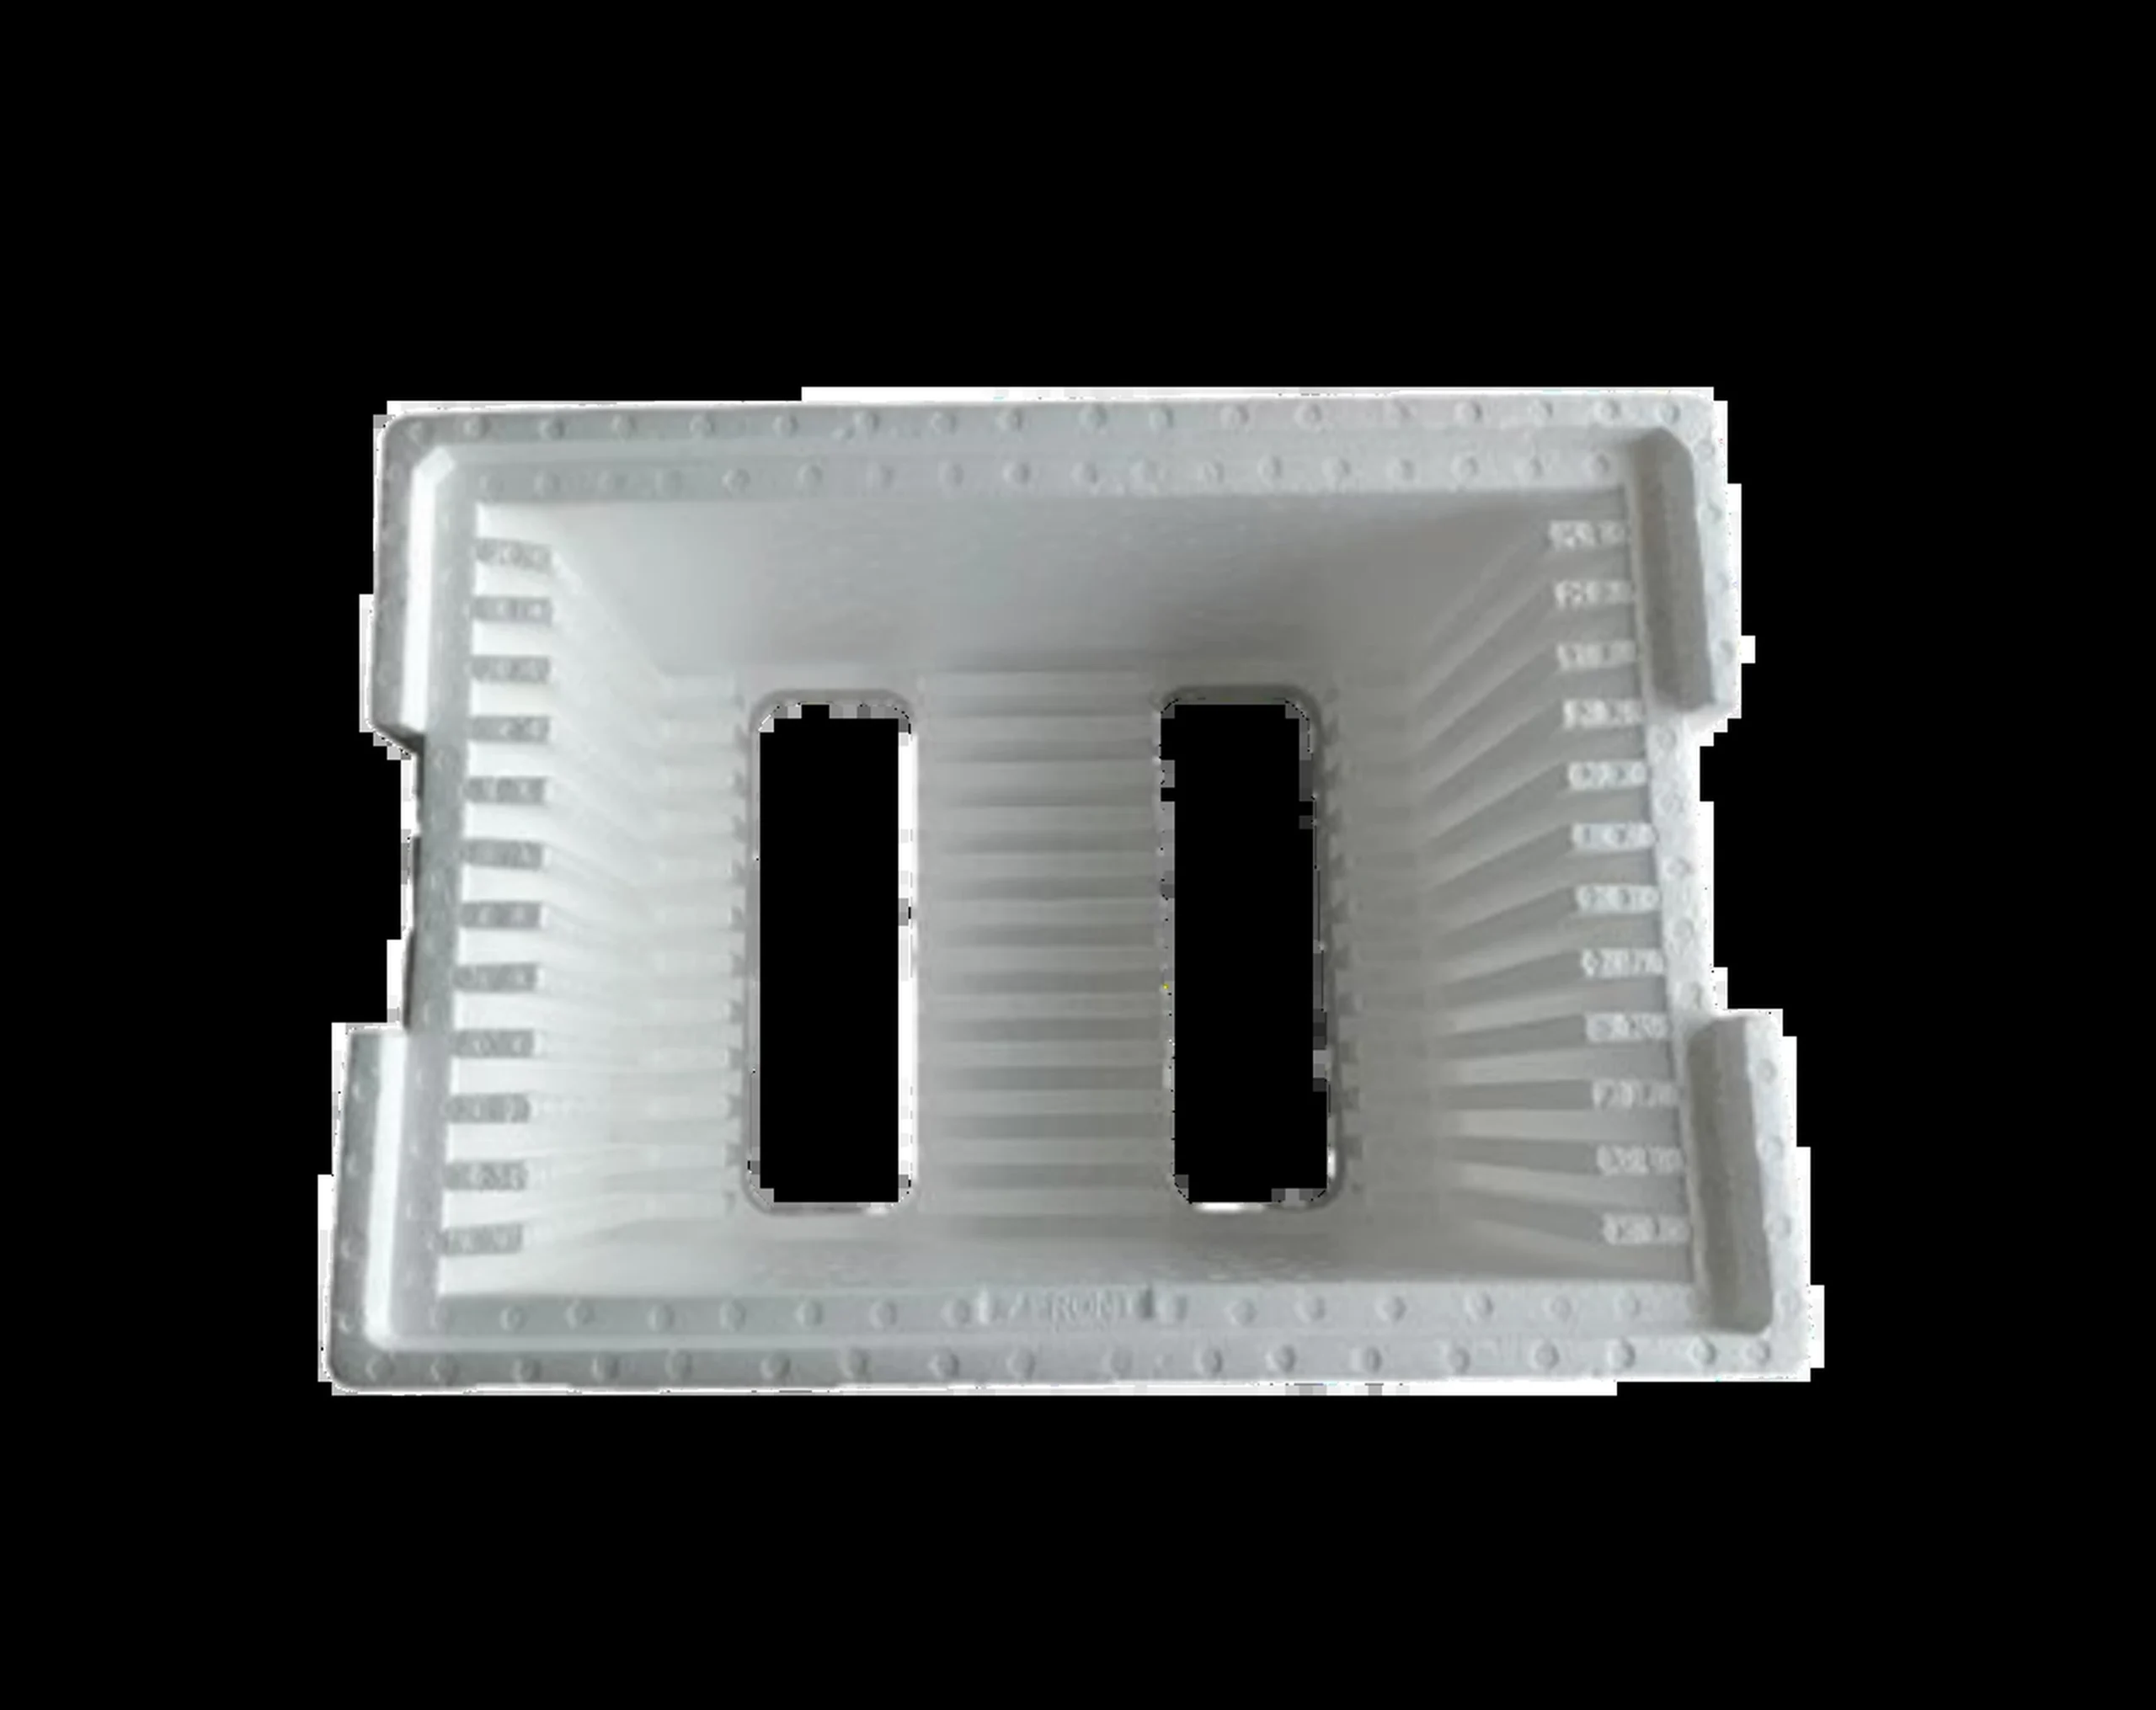
Interestingly, that exact same performance table separately lists the material’s tensile capability. It shows tensile properties under the ISO 1926:2009 standard. Additionally, it lists the puncture behavior under ASTM F1306-21. Keeping these three distinct results in completely separate comparison rows is incredibly important for your team. Why? Because the various test methods capture distinctly different structural failure modes. Suppose your primary package risk involves a delicate lip splitting wide open during consumer removal. If so, you need to act accordingly. You should firmly ask for a tear-focused evaluation. This evaluation must test the actual finished geometry. Do this rather than foolishly relying on a baseline tensile number alone.
You can definitely use the official HUASHENG R-EPS product data. It serves as a fantastic tool to help frame a productive supplier discussion. However, always remember that a basic summary table rarely lists every tiny specimen detail. You should not hesitate to dig deeper. Request the full, unabridged test record. Do this especially if your supplier comparisons are running extremely close. You should also demand the full report if your specific packaging application carries a remarkably high financial cost of failure.
Where Can a Tear Start in a Molded EPS Package?
You need to carefully inspect specific locations on your design. Look for areas where complex geometry and rough handling might easily create a starter defect. For instance, check any narrow bridge spanning between two deep cavities. Scrutinize every sharp inside corner. Look closely at any visible ejector pin marks left from the mold. Pay attention to any damaged cut edges. You should also evaluate thin snap features or protruding tabs that warehouse operators might grab and pull repeatedly. A devastating crack may not necessarily begin at the spot where the static product load sits the highest. Ironically, it might begin far away from the heavy center. It usually starts exactly where a frustrated worker aggressively bends or violently twists the foam insert just to remove a stubborn component.
What should a designer check around a notch?
When examining a notch, a smart designer must record several crucial metrics. First, measure the exact notch depth. Next, document the corner radius. You must also measure the local wall thickness. Note the material grain or the specific molding flow direction, if that information is known. Finally, document the primary direction of the expected physical pull. You should diligently check the surrounding features. See whether a routed cable slot or a cooling vent leaves a dangerously narrow foam ligament. The same goes for fastener holes or handy access cutouts. If the risk of a crack is totally unacceptable for your brand, you must take proactive steps. Try moving the problematic cutout to a safer location. You could add a much broader structural support rib. Alternatively, you might change the recommended removal sequence entirely. Try these creative engineering solutions before lazily defaulting to a thicker, heavier, and costlier part.
Why test the packing and unpacking sequence?
Real-world usage is messy. An assembly line operator may severely flex a tray while rushing to load or remove a heavy product. Meanwhile, brutal transport vibration inside a moving truck may repeatedly bend a highly vulnerable thin section. These two scenarios represent completely different mechanical loading histories. Therefore, you should always use the actual, physical part in a simulated trial. Pair it with the official written work instructions. During this trial, observe the foam incredibly closely. Watch exactly where the very first signs of stress whitening appear. Look for the first microscopic crack. Notice if any loose fragment suddenly appears. You must repeat this manual task enough times to thoroughly expose the exact same handling risk that high-volume production will inevitably create. For example, consider a diligent designer who clearly sees stress whitening forming after repeated tab removals. That designer can creatively compare a larger tab radius against a completely changed pull direction. They can evaluate these smarter tweaks long before they resort to thickening every single wall on the drawing board.
The supplier HUASHENG lists numerous practical REPS applications on their site. This impressive list includes robust panel packaging. They also gladly offer highly customized engineering solutions for tricky problems. You should take a moment to compare their published REPS display-panel packaging example directly with your own internal tray design. After doing that homework, you should formally request a rigorous, project-specific engineering check. Do this instead of blindly transferring another random product’s passing result onto your own critical project files.
How Should Buyers Set Up a Tear-Risk Trial?
Setting up a proper trial requires excellent communication. You must provide the testing lab with the final, production-intent geometry. Give them the exact material identification codes. Clearly outline the intended molding or hot-wire cutting route. Share the precise part dimensions. Describe the physical contact surfaces, and thoroughly explain the end-user’s intended removal sequence. If a realistic starter defect can genuinely occur during normal use, you should identify it upfront. However, you must stay grounded in reality. Do not invent an impossibly strict notch specification that the manufacturing process simply cannot control economically. Before the physical testing even begins, get everyone in the room to agree on the parameters. Agree on the primary load direction. Decide on the exact number of handling cycles. Agree on the ambient testing environment. Most importantly, clearly define exactly what actually counts as a structural failure.
Sometimes your final business decision depends heavily on the product’s complex shape. When this happens, you should use both a raw material specimen and a fully finished molded part for the evaluation. A standardized flat coupon helps engineers compare baseline material responses under one highly controlled method. Meanwhile, the finished part trial checks reality. It verifies whether thin wall sections, sharp inner corners, and clumsy manual loading steps create that exact same tear risk. Always take clear photographs of the very first crack location. Note carefully whether that crack actually began at an unavoidable manufacturing defect. Check if it started at an intentional design cutout. See if an accidental impact mark caused it, or if it originated exactly at a designated operator handling point.
Consistency is everything when comparing EPS packaging tear resistance across different bids. You must firmly keep the foam grade fixed. Lock down the specified foaming rate. Ensure the density remains identical. Keep the physical specimen details and the official test method completely fixed. If even one sample differs slightly from the baseline, you must ask tough questions. Demand to know exactly which specific variable change explains the differing result. You can easily send your CAD drawings and documented handling steps directly through HUASHENG’s customized REPS inquiry route. Once there, simply request a comprehensive, formal technical review customized exclusively for your unique package.
Modern technology offers even more insights. A sophisticated foam tear strength test can also utilize high-speed, repeated digital images of the advancing crack front. This is incredibly useful when your engineering decision depends heavily on understanding crack propagation speed. Naturally, this only works provided the laboratory method and the physical specimen remain strictly controlled throughout the event. Perhaps your lab uses a custom Python image-analysis script to process those hundreds of digital frames.
FAQs
Q1: Is EPS tear strength fundamentally the exact same thing as EPS tensile strength?
A1: No, it absolutely is not. Baseline tensile strength characterizes how a uniform specimen behaves when it is pulled evenly in pure tension. On the contrary, tear testing evaluates active crack propagation.
Q2: Can a verified EPS puncture resistance value safely replace a dedicated tear test?
A2: No, you cannot swap them. A puncture evaluation focuses entirely on a sharp point or blunt probe forcefully entering the material under a highly defined mechanical setup. Meanwhile, a tear evaluation focuses exclusively on how a preexisting split aggressively progresses through the foam structure.
Q3: What specific variables does a proper foam tear strength test actually need to match?
A3: You must carefully match the exact testing method. You also need to match the specific specimen geometry and the pre-test environmental conditioning. Furthermore, you must align the exact loading direction and the written engineering failure definition.
 English
 German
 Spanish
 French
 Arabic